
How long should a bottle rinsing machine rinse each bottle?
Time : Oct 14, 2026
How Long Should a Bottle Rinsing Machine Rinse Each Bottle?
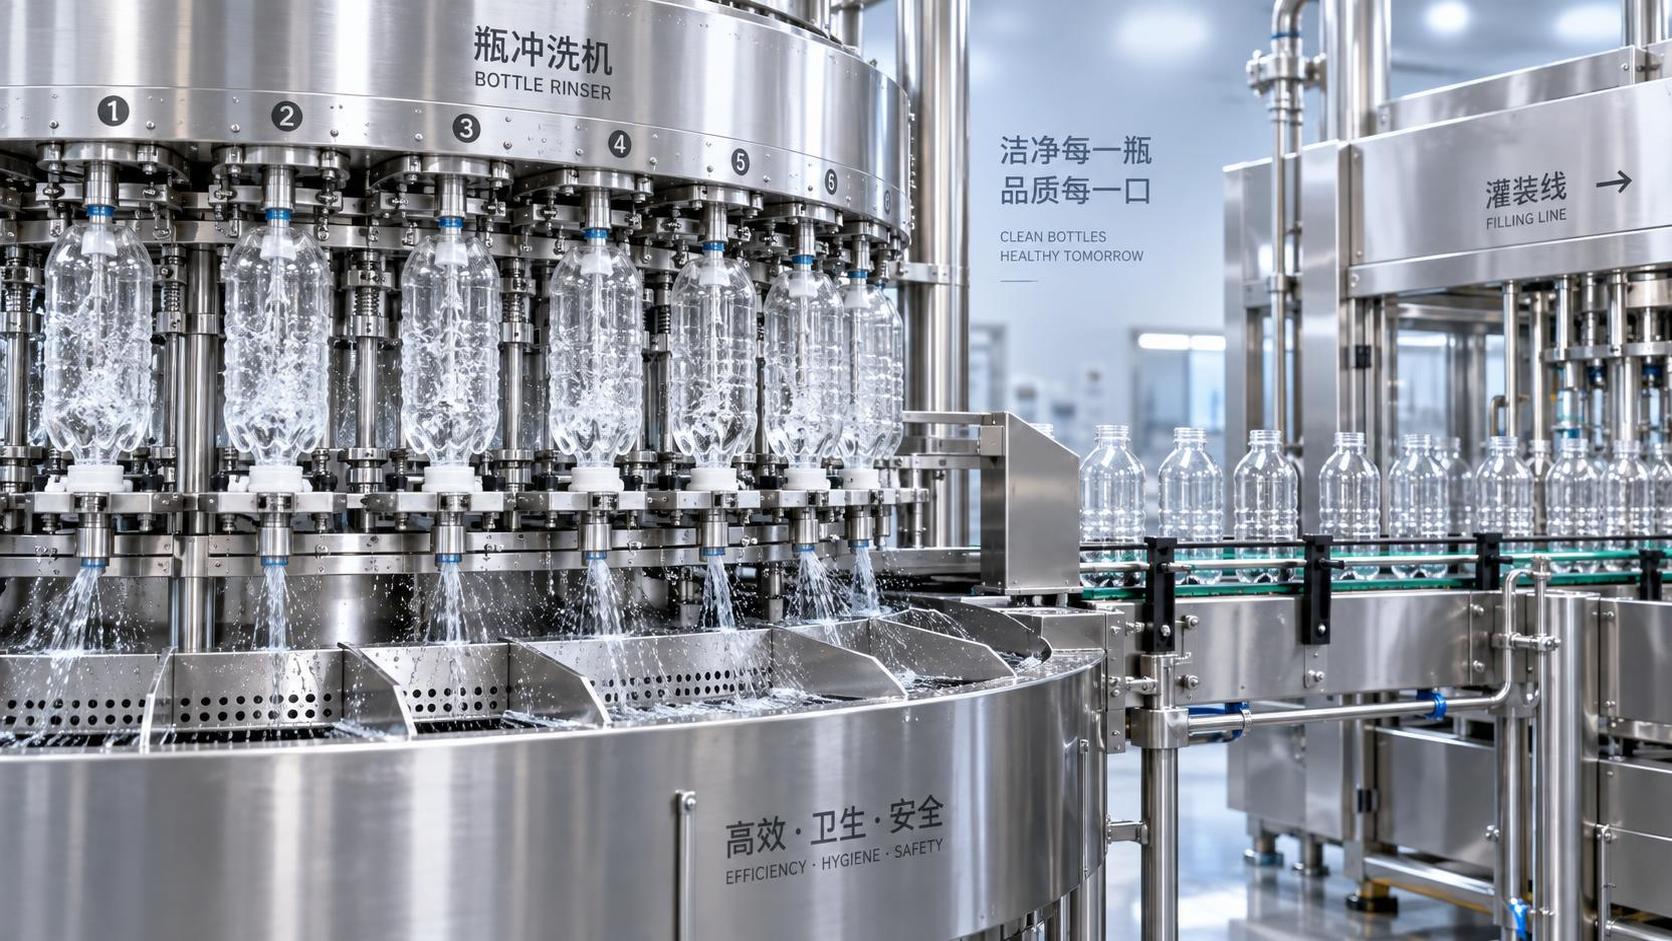
The right rinse time for each bottle directly affects hygiene, water consumption, production speed, and final beverage quality. For operators using a Bottle Rinsing Machine, there is no single setting that fits every line: bottle material, contamination level, rinse media, and machine speed all matter. This guide explains how to determine an effective rinsing duration, helping you achieve reliable cleaning performance without unnecessary downtime or waste.
The practical answer is that a bottle should be rinsed only as long as needed to achieve the required internal cleanliness under real operating conditions. That sounds obvious, but it is often missed. A line may be running at the correct nominal speed while bottles receive uneven spray coverage, insufficient drainage, or poor nozzle pressure. Extending the rinse cycle in that situation may consume more water without solving the actual problem.
Rinsing time must therefore be treated as part of a system, not as an isolated number on an operator panel. The useful question is not simply “How many seconds?” It is: “How much effective rinse exposure does each bottle receive, at the correct pressure, with the correct medium, and with enough time to drain before filling?”
There Is No Universal Rinse-Time Setting
In beverage production, empty containers can arrive with very different conditions. Bottles may be newly supplied and only need dust removal, or they may have been stored in an open warehouse where loose particles, carton fibers, or moisture are more likely. Returnable containers, where applicable, follow a different cleaning process altogether and should not be treated as if they were new bottles requiring a simple internal rinse.
A short rinse can be appropriate for clean, newly manufactured bottles handled in controlled packaging and fed directly to the line. A longer exposure, multiple spray stages, or a different rinse medium may be justified where bottle storage conditions are less controlled or where the beverage process has stricter internal hygiene requirements. The bottle itself also changes the decision. Lightweight PET bottles can move differently on the gripper or neck guide than rigid glass bottles, and their geometry may affect how rinse water reaches the shoulder and base.
For that reason, a Bottle Rinsing Machine should be set according to a validated line condition rather than copied from another product, another bottle format, or a previous production shift. A setting that works for a narrow-neck glass bottle may not clean or drain the same way in a wide-mouth PET container.
Think in Terms of Effective Contact, Not Conveyor Time
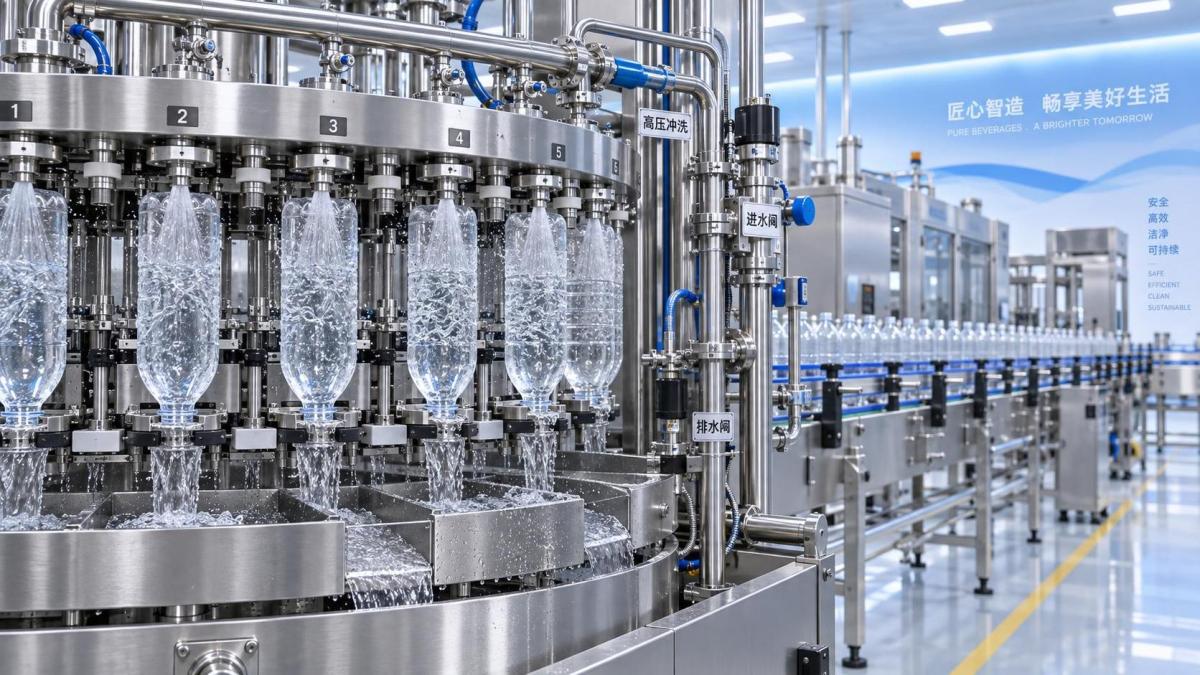
Operators sometimes calculate rinse time from the speed of the conveyor or rotary rinser alone. That is only part of the picture. The actual rinse exposure begins when a bottle is correctly positioned over the rinse nozzle and ends when the spray stops. In a rotary system, this depends on the number of active rinsing stations, the machine rotation speed, the valve timing, and whether the bottle remains inverted through a separate drainage section.
A bottle can spend a reasonable amount of time inside the machine yet receive an incomplete rinse if it is not fully seated, if a nozzle does not rise correctly, or if the spray pattern is partially blocked. Conversely, a high-speed machine can deliver a good rinse in a relatively brief period when nozzle design, flow, pressure, bottle inversion, and coverage are all correct.
The distinction matters during line adjustments. If production speed increases, the effective time at each rinse station may decrease. Before responding by simply adding more water, check whether the equipment allows an additional rinse zone, different valve timing, or a revised operating speed. Water volume and time are related, but they are not interchangeable. High flow with poor directional coverage can leave difficult areas untouched; a well-directed spray may achieve better results with less total water.
What Determines the Required Rinsing Duration?
Four factors usually deserve attention before changing the timer or machine speed: the incoming bottle condition, the rinse medium, the bottle design, and the downstream process risk.
Incoming bottle condition
The production team should know how bottles are delivered, stored, unpacked, and transferred to the rinser. Containers that move through enclosed handling and enter the filler soon after depalletizing may require less aggressive rinsing than bottles exposed to dust-prone storage areas. Do not base this judgement on appearance alone. A clear bottle can look clean while still carrying fine particles or residue that should not enter the filling process.
Changes in suppliers, pallet wrapping, bottle bags, warehouse conditions, or handling methods can all alter the incoming risk. If the rinse setting has suddenly become unreliable, inspect what happens upstream before assuming the rinsing machine is at fault.
Rinse medium and water quality
Water rinsing removes loose contamination, but it can also introduce its own quality concerns if the supply is not suitable for the process. The specification for rinse water should align with the plant’s beverage safety plan and local requirements. In some operations, the final rinse may use treated water, product-compatible water, filtered air, or another approved medium. The correct exposure time depends on that medium’s purpose.
If a sanitizing rinse is used, its required contact conditions should come from the chemical supplier’s instructions, the process validation, and the plant’s documented controls. It is not safe to assume that increasing or reducing contact time will remain effective merely because the bottles look clean. Chemical concentration, temperature, drainage, and carryover into the beverage all need to be considered together.
Bottle shape and finish
Shoulders, deep bases, embossed areas, unusual neck finishes, and wide mouths can change spray behavior. Some bottle designs drain quickly when inverted; others retain droplets near the shoulder or base. This is especially relevant before filling carbonated beverages, sensitive juices, dairy-based drinks, or products where water carryover can affect formulation or microbiological control.
A trial should use the actual bottle format, not only a similar sample. Watch bottles as they enter, invert, rinse, drain, and return upright. Slow-motion video can be useful when diagnosing unstable handling or splash-back, provided it is used safely outside guarded machine areas.
A Practical Way to Set and Verify the Rinse Cycle
Start with the machine supplier’s recommended operating range for the installed rinser and bottle type. That provides a safe baseline, but it should not be the final decision. Confirm the line’s required cleanliness criteria with quality personnel, then evaluate the setting under normal production conditions rather than during an empty-machine test.
The following sequence is more reliable than adjusting time by guesswork:
- Inspect the incoming bottles and confirm that the selected rinse medium matches the approved process.
- Check nozzle alignment, spray pattern, pressure stability, filters, valves, and bottle gripping before changing the cycle.
- Run the line at the intended production speed, not at a reduced commissioning speed.
- Observe whether every bottle receives consistent inversion, spray engagement, and drainage.
- Use the plant’s approved inspection, sampling, and quality procedures to verify that the selected condition is acceptable.
- Document the setting by bottle format, rinse medium, and line speed so it can be repeated by every shift.
The last point is often overlooked. A rinse setting written only as “standard speed” is not enough. Operators need to know the actual operating relationship between machine speed, active rinse stations, valve configuration, water or air supply conditions, and bottle format. If one variable changes, the effective rinse duration may change too.
Do Not Confuse More Rinsing with Better Rinsing
Longer rinsing can create new problems. Excess water use is the most visible consequence, but it is not the only one. More residual water may remain in the bottle if drainage time is not increased accordingly. This can be troublesome where the filling process is sensitive to dilution, where labels must be applied soon after filling, or where wet bottle exteriors affect downstream handling.
Long cycles can also become a hidden production constraint. When operators compensate for poor nozzle maintenance by slowing the rinser, they may reduce the filler’s effective output while leaving the original fault unresolved. A blocked filter, worn nozzle, damaged seal, or inconsistent bottle lift mechanism will not be corrected by adding rinse time.
There is also a hygiene consideration. Standing water, poorly drained rinse circuits, and infrequent sanitation of wetted machine parts can undermine an otherwise sensible cycle setting. The rinse system needs its own maintenance and sanitation routine, including checks of filters, tanks, piping, nozzles, and return paths where fitted.
Drainage Is Part of the Rinse Process
A bottle is not ready for filling at the moment the spray stops. It also needs adequate time and orientation to release rinse liquid. On many lines, the drainage section is as important as the spray section. If bottles leave the rinser visibly wet inside, the answer may be to improve inversion time or drainage angle rather than lengthen the rinse.
Downstream equipment should be reviewed as well. For example, where external moisture creates handling or packaging concerns, a properly matched drying stage can help stabilize the line after rinsing. Equipment such as the HG-6000 Dryer may be relevant when the issue is bottle exterior drying rather than internal rinse duration. These are different tasks, and treating one as a substitute for the other can lead to poor process decisions.
Common Signs That the Current Setting Needs Review
A rinse cycle deserves attention when line conditions change or when operators see repeatable symptoms. These may include uneven internal wetting between bottles, water droplets retained in a particular bottle format, unstable pressure readings, nozzle spray that is visibly distorted, increased water use without a documented reason, or fill-quality concerns that appear after a speed increase.
Not every issue requires a longer rinse. If only some bottles are affected, inspect mechanical positioning and nozzle engagement. If all bottles are affected after a maintenance intervention, verify valve timing, supply pressure, and the correct reassembly of filters or spray components. If the problem is isolated to one bottle supplier or format, check the dimensional fit at the rinser and how the new geometry drains.
The Best Rinse Time Is the Shortest Verified Effective Time
For a Bottle Rinsing Machine, the best operating setting is usually the shortest rinse duration that consistently meets the plant’s documented cleanliness and process requirements at normal line speed. That approach protects throughput and reduces unnecessary water use, while avoiding the false confidence of an excessively long cycle.
Before changing the setting, verify the whole path: incoming bottle condition, rinse medium, nozzle performance, spray coverage, inversion, drainage, and downstream filling requirements. Once the condition is confirmed, record it clearly for each bottle format and review it whenever the bottle, speed, water treatment arrangement, or storage practice changes. A stable rinse process comes from controlled variables, not from choosing an arbitrary number of seconds.
Leave A Message
If you are interested in our products and want to know more details, please leave a message here, we will reply you as soon as we can.