
How to prevent dripping on an edible oil filling machine
Time : Nov 11, 2026
How to Prevent Dripping on an Edible Oil Filling Machine
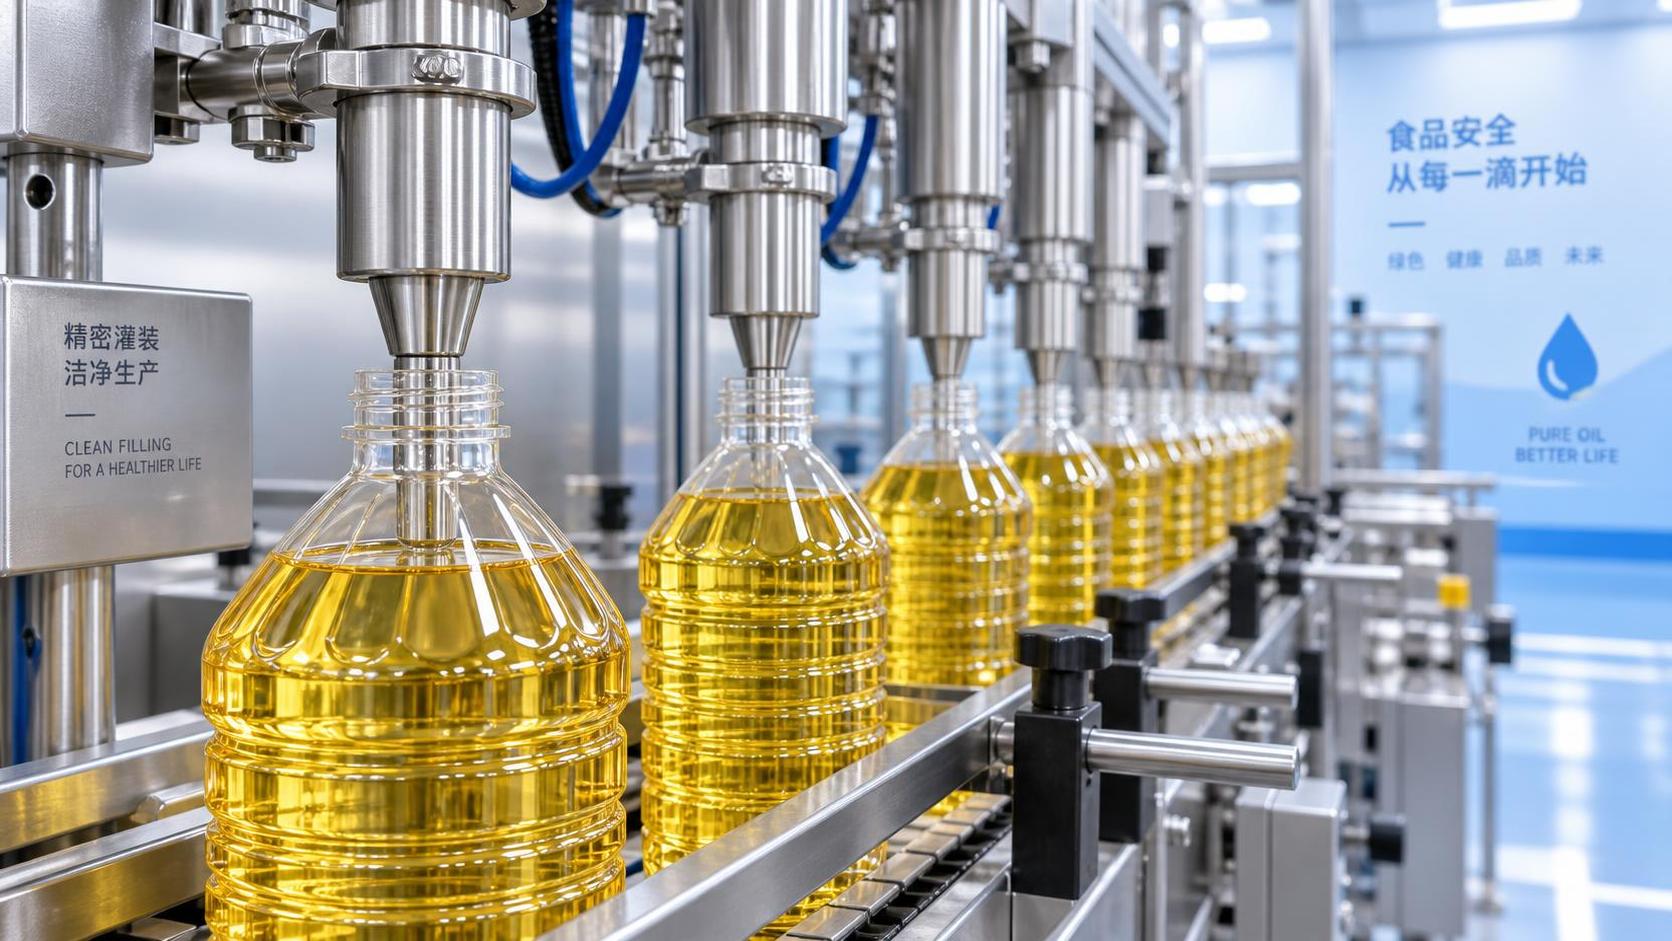
Dripping can reduce filling accuracy, waste valuable product, and create unnecessary cleanup challenges. For operators working with an Edible Oil Filling Machine, preventing drips requires the right combination of nozzle design, filling speed, viscosity control, and routine maintenance.
This guide explains practical ways to improve drip-free performance, protect product quality, and keep your production line running efficiently without relying on temporary fixes that create new problems later.
In most cases, oil dripping is not caused by one isolated component. It results from timing, pressure, temperature, nozzle condition, bottle positioning, and operator setup working poorly together.
The fastest route to improvement is identifying where the oil leaves control: inside the nozzle, during bottle movement, after valve closure, or while containers are transferred downstream.
Start by Identifying When and Where the Drip Occurs
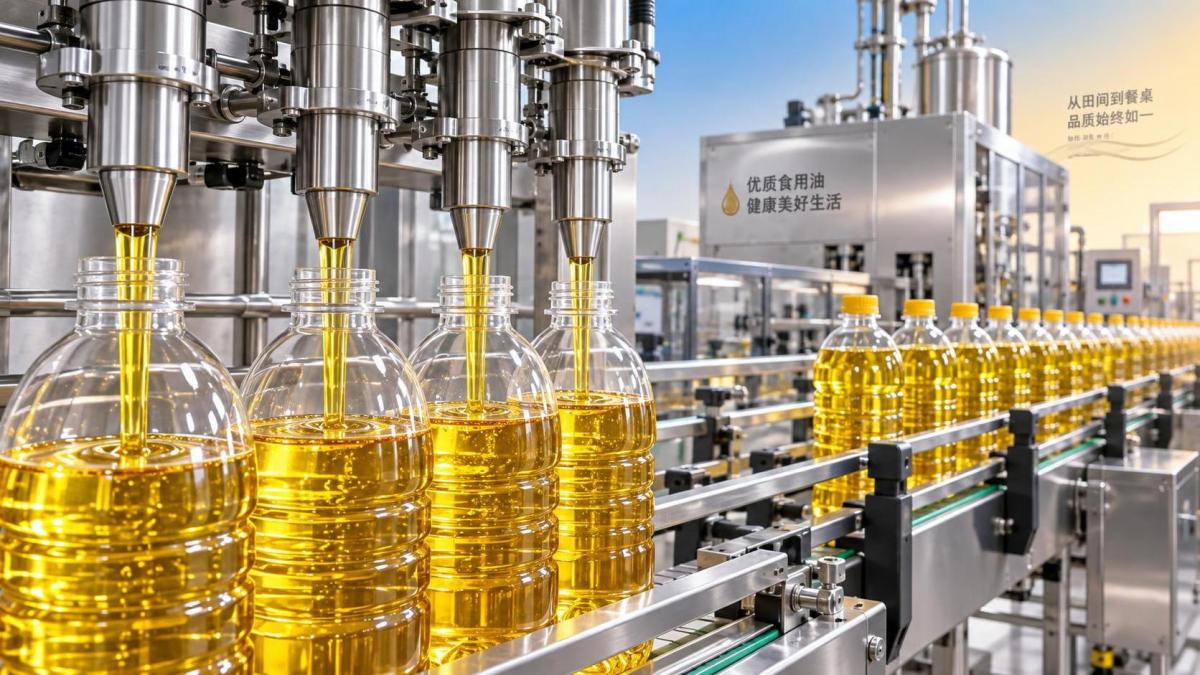
Before changing machine settings, observe the filling cycle closely. Determine whether oil drips before filling starts, during the fill, immediately after shutoff, or after the bottle moves away.
A drip before the fill cycle usually indicates residual product at the nozzle tip. This often points to poor nozzle cut-off, damaged seals, or an unsuitable anti-drip device.
Dripping during filling may indicate unstable product flow, excessive pressure, or incorrect nozzle immersion depth. In these cases, the operator should inspect process settings before replacing parts.
Oil that drips after shutoff commonly results from delayed valve closing, vacuum loss, long nozzle tails, or a filling speed that exceeds the nozzle's control capability.
If droplets land on bottle shoulders, caps, or conveyor guides, inspect bottle centering and nozzle alignment. Even a well-adjusted valve can drip when the container is incorrectly positioned.
Documenting the exact drip location helps maintenance teams avoid random adjustments. A short observation record should include oil type, temperature, fill volume, line speed, and affected filling heads.
When only one nozzle drips, the cause is usually local wear or contamination. When every nozzle drips, the cause is more likely related to common pressure, timing, or viscosity conditions.
Use the Right Nozzle Design for Edible Oil
Nozzle selection has a direct effect on drip control. An Edible Oil Filling Machine needs nozzles designed to stop product flow cleanly without pulling excess oil into the bottle neck.
Anti-drip nozzles use mechanical shutoff, spring-loaded valves, pneumatic control, or suction-assisted designs. The most suitable choice depends on oil viscosity, filling temperature, bottle shape, and production speed.
For low-viscosity oils such as refined sunflower or soybean oil, a positive shutoff nozzle is usually necessary. Thin oils continue moving easily after the main valve closes.
For thicker products, nozzle strings may form because oil clings to the tip. A nozzle with a clean cut-off edge and suitable internal geometry reduces this trailing effect.
Check whether nozzle tips are smooth, clean, and undamaged. Small dents, scratches, hardened deposits, or worn sealing surfaces can create irregular flow paths and persistent drips.
Operators should not use improvised tape, cloth, or manual wiping as the main solution. These methods hide the problem, increase contamination risk, and reduce line consistency.
If bottle neck openings vary across production runs, use adjustable or matched nozzle assemblies. A nozzle that sits too high above the bottle can cause splashing and leave oil on the outer surface.
For applications requiring frequent bottle changes, keep documented nozzle settings for each approved package format. This reduces setup time and prevents operators from relying on visual guesswork.
Control Filling Speed, Flow Rate, and Shutoff Timing
High filling speed is often blamed for dripping, but speed alone is not the issue. The real concern is whether flow rate and shutoff timing remain stable at that speed.
When the flow rate is too high, oil reaches the nozzle outlet with more momentum. After valve closure, residual pressure can continue pushing product forward as a drip.
Reduce the filling speed gradually and observe the result. A small reduction may eliminate dripping while preserving a production rate that remains commercially practical.
Many filling systems benefit from two-stage filling. A faster bulk-fill stage handles most of the volume, while a slower finishing stage improves accuracy and reduces nozzle tailing.
Set the final filling stage to match the oil's behavior. Low-viscosity edible oils often require a softer finishing flow than operators expect, especially at warm temperatures.
Valve timing should also be checked after adjustments to stroke length, filling volume, or line speed. A timing setting that works at one volume may not work at another.
For servo-driven equipment, verify acceleration and deceleration parameters. Sudden starts and stops can create pressure pulses that appear as dripping, splashing, or inconsistent fill levels.
For pneumatic systems, confirm that air pressure is stable. Fluctuating air supply can delay valve response, causing nozzles to close inconsistently between consecutive filling cycles.
Keep Oil Temperature and Viscosity Consistent
Edible oil viscosity changes with temperature, and even moderate temperature differences can affect filling performance. Warmer oil flows faster, drains more easily, and is more likely to drip.
If the product tank is heated, monitor the actual oil temperature rather than relying only on the heater setting. Temperature variation inside the tank can be larger than expected.
Cold oil may fill slowly and form strings at the nozzle tip. Excessively warm oil may overrun the valve closure point and create droplets after the nozzle has stopped.
Use a defined operating temperature range for each oil formulation. Record it in the production specification alongside fill volume, nozzle type, speed, and approved adjustment limits.
Changes in oil blend, filtration condition, additives, or storage duration can also affect viscosity. Operators should report new dripping behavior whenever a different batch performs unusually.
Product aeration may worsen unstable flow. If the oil contains entrained air, filling can become inconsistent, producing spurts, delayed discharge, and droplets after normal valve closure.
Inspect tank agitation and product transfer conditions when aeration is suspected. Excessive mixing, poor return-line design, or suction leaks can introduce air before filling begins.
Consistent product conditions make mechanical adjustments more reliable. Without viscosity control, operators may continuously adjust the machine to compensate for changing oil behavior.
Check Tank Pressure, Product Level, and Pump Stability
Stable product supply is essential for drip-free filling. Pressure changes upstream of the filling valve can alter the amount of residual oil left near the nozzle after each cycle.
In gravity-fed filling machines, large changes in tank level can change hydrostatic pressure. A nozzle may perform well with a full tank but drip more as the level falls.
Use level controls or operating limits that keep head pressure within an acceptable range. This is especially important for long production runs involving low-viscosity cooking oils.
For pump-fed systems, inspect pump speed, pressure regulation, and pulsation. Positive displacement pumps may require dampening equipment if pressure pulses affect nozzle cut-off performance.
Filters should be inspected regularly because partial blockage can cause inconsistent pressure. A restricted filter may create uneven filling across heads or delayed recovery between cycles.
Confirm that product hoses are properly supported and not kinked. Hose restrictions can create pressure changes that are difficult to identify from the operator panel alone.
Leaks on suction lines deserve attention as well. Air entering a product line may not always cause visible leakage, but it can disrupt filling accuracy and nozzle shutoff behavior.
When troubleshooting, compare pressure readings during operation rather than only during idle conditions. Many problems appear only when multiple filling heads are cycling at production speed.
Set Bottle Positioning and Nozzle Travel Correctly
Drip prevention depends partly on where the nozzle is positioned when the valve closes. Incorrect vertical travel can leave oil exposed outside the bottle instead of inside the neck.
For bottom-up filling, the nozzle should rise smoothly as the bottle fills. Raising too early can cause surface disturbance, while raising too late may leave excessive oil at the tip.
Check that bottles are centered beneath every nozzle. Worn guide rails, loose star wheels, conveyor vibration, or inconsistent bottle dimensions can shift containers during the fill cycle.
Lightweight plastic bottles may flex under conveyor pressure or nozzle contact. Adjust handling components carefully so bottles remain stable without becoming squeezed or distorted.
The nozzle should enter deep enough to control the initial flow, but not so deeply that it contacts the bottle bottom or interior wall. Contact can damage both package and nozzle.
For bottles with narrow necks, verify clearance during start-up and after format changes. A small misalignment can transfer oil onto the rim, which later contaminates the capper.
Clean bottle preparation supports filling performance. Before filling, containers should be free from dust, water, plastic fragments, and other residues that could affect hygiene or cap sealing.
On lines with bottle rinsing equipment, proper preparation reduces downstream defects. The CP-30 Single-Row Chain-Track Bottle Rinsing Machine can support orderly bottle handling before filling and capping operations.
Maintain Valves, Seals, and Nozzle Tips on Schedule
Even a well-configured filling machine will begin dripping when wear parts degrade. Preventive maintenance is more effective than waiting until oil buildup becomes visible on the line.
Inspect nozzle seals, O-rings, valve seats, springs, diaphragms, and pneumatic connections according to the manufacturer’s recommended interval. Replace parts showing deformation, swelling, or hardening.
Food-grade seals can be affected by repeated cleaning, high temperatures, and oil contact. Using an incorrect seal material may cause early failure and inconsistent shutoff.
Clean nozzle interiors thoroughly during scheduled sanitation. Deposits near the valve seat can prevent complete closure, even when the external nozzle tip appears clean.
Use approved cleaning methods that do not scratch sealing surfaces. Abrasive tools can create tiny channels that trap oil and cause repeat dripping after the next production run.
After maintenance, run a controlled test before returning to full production. Observe at least several consecutive cycles because intermittent drips may not appear during a single test fill.
Maintain spare sets of critical nozzle components for common oil products. Delays in replacing a worn valve seat can result in product loss, rework, and extended cleanup time.
Record replacement dates for each filling head. This makes recurring failures easier to identify and helps distinguish normal wear from a design, pressure, or cleaning issue.
Create a Practical Operator Drip-Control Checklist
A short checklist helps operators identify changes before they turn into major waste or hygiene problems. The checklist should be used at start-up, after changeovers, and during routine checks.
First, verify the correct oil, target temperature, bottle format, fill volume, nozzle height, and programmed speed. These basic settings should match the approved production record.
Next, inspect nozzle tips for visible oil accumulation, product strings, or damage. Wipe surfaces only after identifying why the oil is present and correcting the underlying cause.
Check product level, supply pressure, air pressure, and conveyor movement. Any unstable reading or unusual machine sound should be investigated before increasing production speed.
Run sample bottles through the complete line and inspect the neck, shoulder, cap area, and outer wall. Oil on these surfaces can cause poor cap torque and unattractive packaging.
Measure actual fill volume at regular intervals. A machine that is beginning to drip may also show declining accuracy, particularly if valve response changes between filling heads.
Communicate findings clearly during shift handover. Notes should explain what changed, what adjustments were made, and whether the issue affected one head or the entire Edible Oil Filling Machine.
Operators should escalate repeated dripping rather than continuously compensating with manual adjustments. Repeated correction often signals a maintenance requirement or an upstream process condition that needs attention.
Common Mistakes That Make Dripping Worse
One common mistake is increasing speed immediately after solving a drip problem. This can hide the original cause and push the nozzle system beyond its stable operating range.
Another mistake is adjusting several variables at once. Change one factor, observe enough cycles, record the result, and then move to the next possible cause.
Operators sometimes focus only on the nozzle tip while ignoring product temperature and supply pressure. Dripping is often a process-control issue rather than a simple cleaning issue.
Using excessive vacuum can also create problems. Although vacuum assistance can reduce tailing, too much suction may affect fill accuracy or pull air into the nozzle area.
Ignoring bottle movement is equally risky. A stable nozzle cannot prevent external oil contamination if bottles shift away before the final drop has cleared the tip.
Finally, do not postpone maintenance because the drip appears small. Minor oil loss accumulates quickly, increases slip hazards, attracts dust, and adds unnecessary cleaning labor.
Conclusion: Drip-Free Filling Comes From Controlled Conditions
Preventing drips on an Edible Oil Filling Machine requires more than simply lowering the filling speed. Operators need to control nozzle shutoff, oil viscosity, supply pressure, bottle alignment, and component condition together.
The most reliable approach is to first identify the exact point where dripping occurs, then make one measured adjustment at a time. This creates repeatable settings instead of temporary corrections.
With correct nozzle selection, stable product conditions, disciplined maintenance, and routine operator checks, edible oil filling can remain accurate, clean, efficient, and easier to manage across every production shift.
Leave A Message
If you are interested in our products and want to know more details, please leave a message here, we will reply you as soon as we can.