
How to prevent water carryover after bottle rinsing
Time : Oct 11, 2026
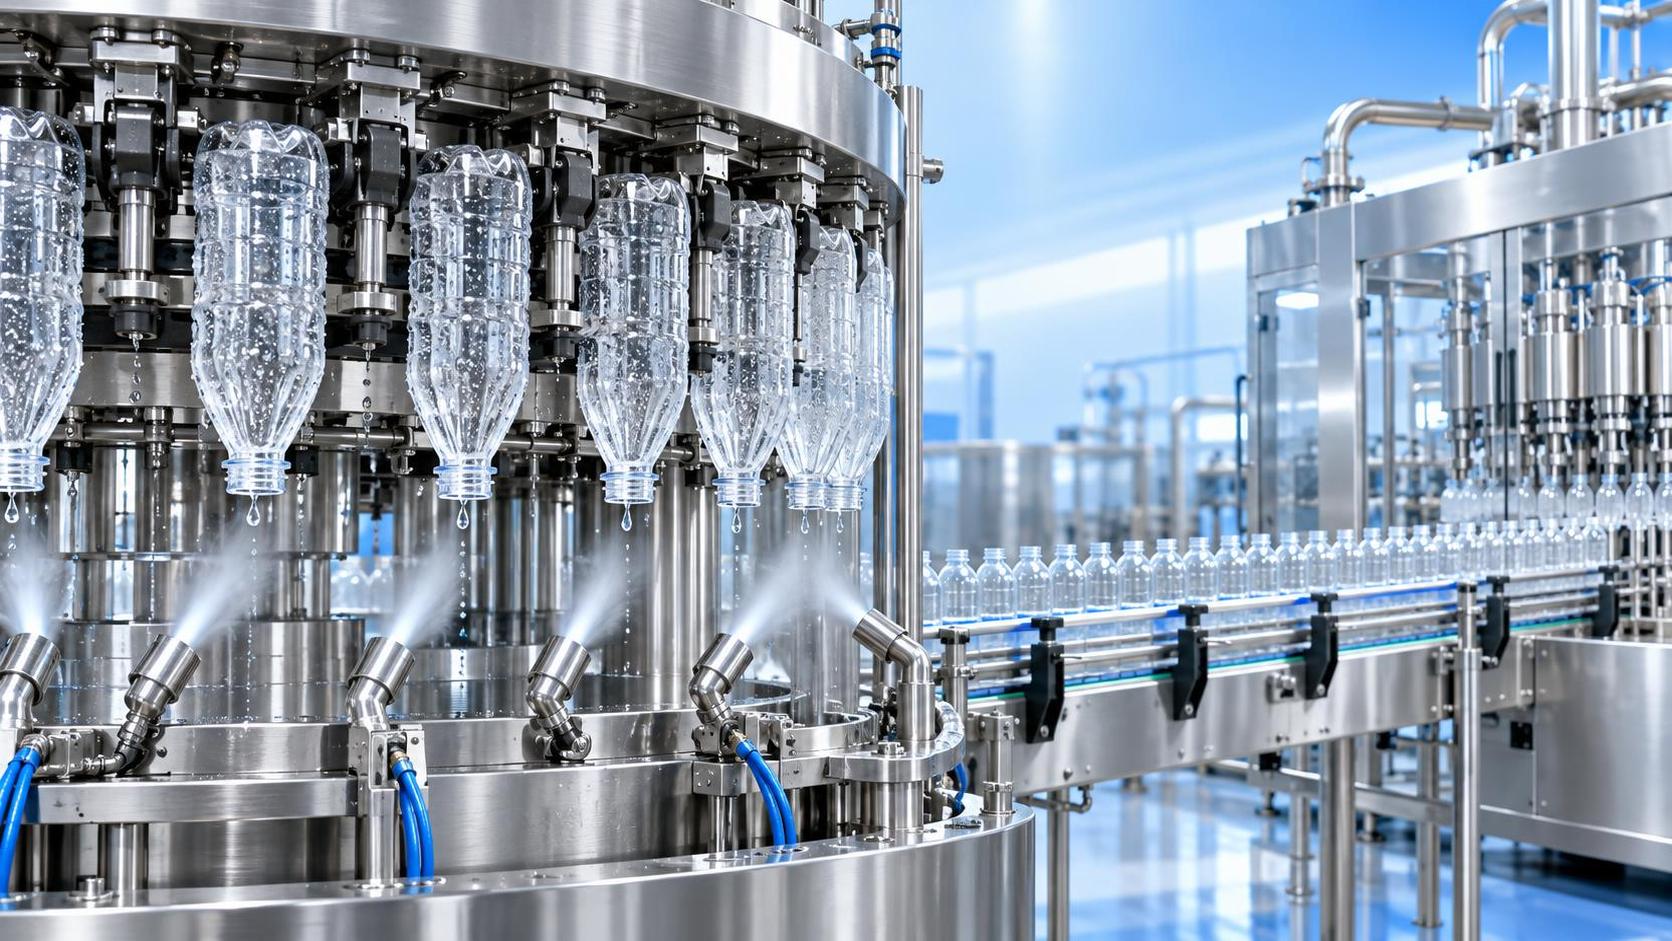
Water remaining in a bottle after rinsing is not a minor housekeeping issue. Once filling starts, residual water can dilute the first portion of product, create inconsistent fill conditions, or carry contaminants from an improperly controlled rinse stage into the beverage. On fast lines, the problem may appear only as occasional wet bottles, variable product checks, or unexplained moisture around the filler—until the pattern becomes frequent enough to affect quality decisions.
The most effective way to prevent water carryover is to treat rinsing, draining, air removal, bottle transfer, and filling as one connected process. A Bottle Rinsing Machine may deliver an adequate rinse, yet still leave water behind when bottles do not invert fully, drain time is too short, blow-off air is weak or misdirected, or bottle geometry traps liquid. Start by identifying where the water remains and whether it is inside the container, on the finish, or on the outside surface.
First, confirm the type of carryover
Residual moisture is easier to correct when the location is clear. A bottle that is wet externally requires a different response from one that retains water in its base, shoulder, or neck. Before changing air pressure or conveyor speed, inspect bottles immediately after rinsing and again just before filling. Compare several positions across the conveyor width rather than checking only the center lane.
A useful distinction is whether the fault follows a machine position or appears randomly. When wet bottles recur at the same interval, a specific rinse head, gripper, valve, air nozzle, or carrier is often involved. When the condition is scattered, look first at line speed changes, unstable bottle supply, fluctuating air pressure, or differences in incoming bottle dimensions.
Drainage begins with correct bottle inversion
Most rinse systems depend on gravity before air assistance can work effectively. Bottles must reach the intended inverted position, remain there long enough for rinse liquid to leave, and return upright without collecting water again. A bottle tilted only partially may appear inverted from a distance while still holding liquid in a shoulder, heel, or recessed area.
Check the mechanical path rather than relying on visual impressions from one location. Observe whether each bottle is fully seated in the gripper or carrier, whether the neck finish is held consistently, and whether bottle bodies swing as the mechanism rotates. Loose handling can cause rinse water to move into areas that are harder to evacuate. Excessive vibration during inversion or return can also redistribute droplets instead of allowing them to drain cleanly.
Container design matters. Narrow-neck bottles, bottles with pronounced shoulders, lightweight containers, and shapes with textured bases can retain water differently. A setting that works on one format may not be sufficient after a packaging change. When multiple bottle types run on the same line, keep documented format settings for rotation position, drainage dwell, rinse pressure, and air-blow timing instead of assuming a single setting will suit all formats.
Do not shorten the drain zone without verification
Higher output demand often leads to faster indexing or reduced dwell time between rinsing and filling. This can create carryover even when the rinsing section itself has not changed. The water must have time to travel out of the bottle, not merely enough time for the machine cycle to complete.
To evaluate drainage time, make one controlled adjustment at a time. Increase the available drain interval where the machine design allows, then inspect bottles from multiple stations. Do not compensate immediately by raising rinse pressure or blowing harder; those changes can increase splash and conceal the underlying timing issue. A stable drain result should be confirmed at normal operating speed, not only during slow setup conditions.
Make air blow-off effective rather than simply stronger
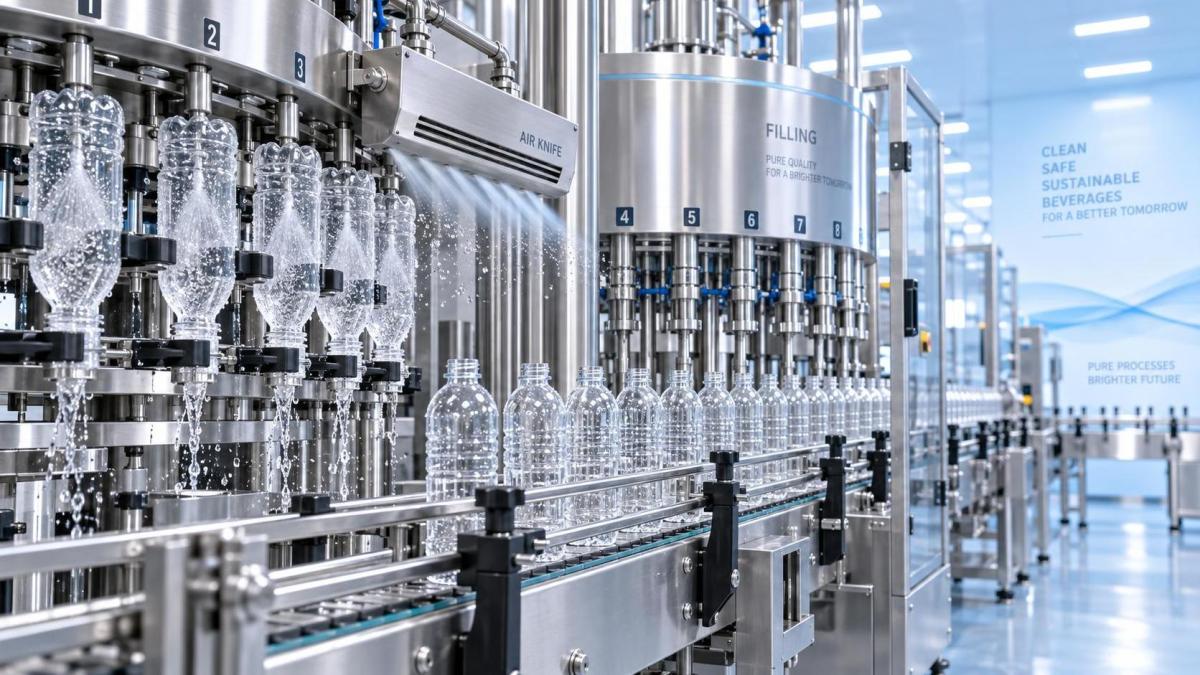
Air blowing is often treated as the universal fix for residual water. In practice, inadequate results usually come from air quality, direction, nozzle condition, or timing rather than insufficient pressure alone. An aggressive blast can atomize water into fine droplets, drive moisture into bottle contours, or create external splash that later reaches the filler.
Begin with the air supply. The air used for bottle blow-off should be clean and dry for the intended process. Moisture introduced through the air line can defeat the purpose of the drying stage, while oil or particulate contamination creates a more serious hygiene concern. Inspect filters, drains, regulators, and any point where pressure loss or condensate may occur. A gauge reading at the main supply is not enough; pressure at the actual blow-off manifold may differ when all heads are operating.
Next, inspect nozzle alignment. Air should follow a path that helps water exit through the bottle opening. Misaligned nozzles may strike the inner wall, create a swirling pattern, or blow against the shoulder rather than down the neck. Nozzles positioned too far from the opening can lose effectiveness; nozzles positioned too close may interfere with bottle movement or create concentrated turbulence.
- Verify that each blow-off nozzle is open and free of deposits.
- Compare air flow from different stations using the same inspection method.
- Check that the air pulse begins only after the bottle has reached the correct orientation.
- Confirm that the air pulse lasts long enough for the bottle format being run.
- Inspect whether air blowing causes water to splash onto adjacent bottles, guides, or transfer components.
Changes should be evaluated by examining both the interior and exterior of the bottle. A bottle may leave the rinse section apparently dry inside but carry droplets around the finish or outer wall. Those droplets can migrate during conveyor travel and create wet conditions just before filling.
Look for water that is being reintroduced after rinsing
Not all moisture seen before the filler originated inside the bottle. Water can be transferred onto clean bottles by wet guide rails, star wheels, neck rails, dead plates, or conveyors. It can also drip from guards, manifolds, hoses, or machine frames after washdown or maintenance. This is especially important when bottles appear dry at the discharge of the Bottle Rinsing Machine but are wet farther downstream.
Trace the bottle journey from the rinser discharge to the filler in short sections. Stop the line safely where permitted and inspect contact points for pooled water, wet residue, and drip paths. Look above the bottle as well as below it. Condensation or a slow leak from an overhead component may affect only one section of the line, making the defect seem intermittent.
Transfer timing deserves attention as well. A bottle that leaves the rinser smoothly but contacts a guide rail during a sharp acceleration may shake loose retained droplets. Misaligned transfer stars or worn pockets can create similar effects. If the problem begins after a format change, compare the guide setting and bottle clearance with the approved setup condition. Clearance that is too tight can smear water across the exterior; clearance that is too wide can allow unstable bottle motion.
Rinse water delivery must be controlled
More water does not automatically produce a better rinse. Excessive flow, incorrect spray pattern, or poor valve closing can leave a larger volume of water for the drain stage to remove. The right rinse setting depends on the bottle design, line speed, contamination risk, and the machine’s intended operating arrangement.
Inspect spray nozzles for blockage, wear, scale, or physical damage. A partially blocked nozzle can create an uneven jet that strikes the bottle wall at an unintended angle. A worn or damaged nozzle may overspray outside the neck opening. Also check whether valves close cleanly between cycles. Dripping nozzles can wet bottles after the primary rinse action has ended, leaving too little time for drainage.
Water quality can influence the problem over time. Mineral deposits may alter nozzle performance and restrict drainage passages. Where rinse water leaves visible residue, cleaning frequency and inspection intervals may need adjustment. The goal is not simply to keep components visually clean, but to maintain a repeatable spray pattern and predictable water removal cycle.
Use bottle samples to separate a rinse fault from a filler fault
When product dilution or unexplained fill variation is suspected, collect bottles at several points: directly after rinsing, after the transfer section, and before filling. Compare their moisture condition using a consistent inspection method. This prevents the filler from being blamed for water introduced upstream and helps isolate whether the problem is linked to a specific machine zone.
Sampling should include bottles from different heads and different conveyor lanes where applicable. A single dry bottle is not proof that the process is under control. The important question is whether the condition changes by station, format, speed, or time since cleaning. Record the machine settings and observed pattern so that later adjustments can be connected to evidence rather than memory.
Build residual-water checks into routine line control
A preventive approach is more reliable than waiting for a product-quality concern. During startup, after changeover, after cleaning, and after any adjustment to air or rinse settings, include an inspection of bottle dryness before filling. The check does not need to be complicated, but it should be consistent enough to reveal a drift in performance.
Maintenance should cover moving and non-moving components. Grippers, bottle carriers, and rotation mechanisms need inspection for wear that affects bottle orientation. Rinse nozzles, solenoid valves, manifolds, filters, and air lines need attention for flow consistency. Guide rails and transfer parts should be checked for water accumulation, particularly after sanitation activities. A small leak or clogged drainage point can create recurring moisture that operators may mistake for a rinse problem.
Where lot or date coding follows filling, keep the moisture issue separated from coding performance, even though the two may appear on the same line. External bottle moisture can complicate downstream handling and print verification. A device such as the K68 Fully Automatic Inkjet Coding Machine belongs to the coding stage; it does not remove internal residual rinse water. Stable bottle drying and transfer conditions should be established first so that traceability checks are not confused with an upstream moisture defect.
When adjustment is no longer enough
Repeated water carryover after confirmed cleaning, correct bottle orientation, stable air supply, and adequate drainage time may indicate a mechanical or control issue. Examples include inconsistent cam motion, worn gripping components, damaged carriers, faulty timing signals, unstable pneumatic valves, or a mismatch between the installed bottle format and the machine tooling. These conditions require a closer equipment assessment because repeated operating adjustments may only mask the fault.
Before returning the line to normal production, verify the result at the intended speed and after the machine has run long enough for normal operating conditions to stabilize. Bottles should be checked not only for visible pooled water, but also for droplets around the neck, shoulder, and base that may move during transfer. A rinse process is controlled only when bottles reach the filler in a repeatable condition, not when they look acceptable during a brief manual observation.
Leave A Message
If you are interested in our products and want to know more details, please leave a message here, we will reply you as soon as we can.