

What causes poor cleaning results in a bottle washing machine?
Time : Sep 20, 2026
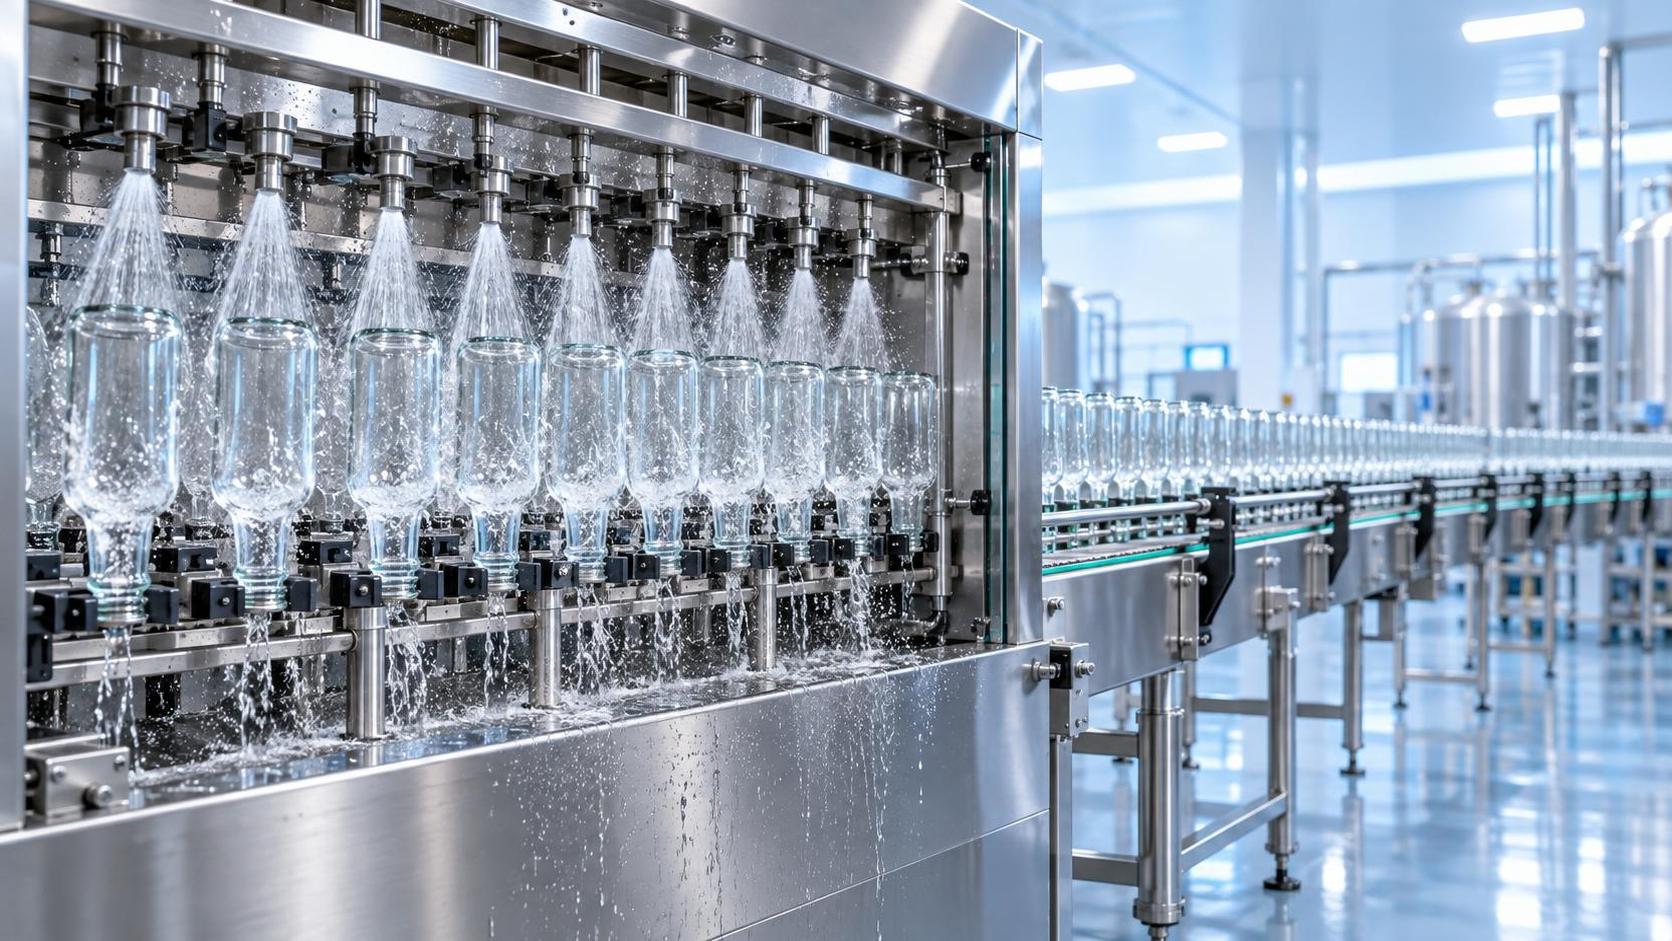
A bottle washer can appear to be running normally while the bottles leaving it are still visibly dirty, dull, wet with residue, or carrying an odor from the previous process. In beverage production, poor washing is not a minor cosmetic issue. It can interfere with filling hygiene, create avoidable rejects, leave detergent traces, and force an operator to stop the line for repeated checks.
Poor cleaning results in a Bottle Washing Machine usually come from a mismatch between the contamination on the bottle and the actual washing conditions reaching it. The fastest route to recovery is to check the process in order: incoming bottle condition, water and chemical quality, temperature, spray coverage, mechanical action, drainage, and bottle handling. Changing several settings at once often hides the real cause and can make the problem worse.
Start by defining what “poor cleaning” looks like
The visible symptom gives useful clues. A bottle with a powdery or cloudy film may point to mineral deposits, inadequate rinsing, or unsuitable water quality. Sticky areas around the shoulder, base, or thread often indicate insufficient spray impact, blocked nozzles, or an incorrectly positioned bottle. Remaining labels, adhesive, or dried beverage soil suggest that the wash cycle is too weak for the incoming contamination, especially when returnable bottles have been stored for an extended period.
Do not limit the inspection to one bottle taken from the discharge. Examine bottles from several washing heads and from different points in the operating period. If only a few bottles are affected repeatedly, the issue may be localized to particular nozzles, brushes, guides, or valves. When cleaning quality declines across the full batch, process water, detergent concentration, heating performance, or conveyor speed is more likely involved.
Water temperature is often the first process condition to verify
Wash water that is too cool may not soften dried syrup, beverage residue, oils, or adhesive sufficiently. Detergents also work within specified temperature ranges; below that range, chemical action may slow down even when the dosing system is functioning. At the same time, excessively hot water can create other problems, including accelerated chemical loss, unnecessary vapor, damage to certain lightweight bottles, or soil becoming more difficult to remove if it bakes onto the surface.
Check the actual temperature at the working tank or supply point rather than relying only on the control-panel setpoint. A sensor can be positioned correctly while a heater, circulation system, steam supply, or temperature controller is not maintaining the intended condition under production load. Temperature should be checked after the machine has stabilized and while bottles are moving through it, not only during idle warm-up.
When the temperature is lower than expected, inspect heating controls, heat transfer surfaces, liquid level, circulation, and any factors that bring excessive cold make-up water into the tank. If operators compensate by simply increasing detergent dosage, the bottles may still be poorly cleaned and may become harder to rinse afterward.
Detergent concentration and chemical condition can drift during a shift
Detergent must be present at the concentration suitable for the soil type, bottle material, and washer design. Too little chemical leaves organic residue, grease, adhesive, or microbial soil insufficiently loosened. Too much can produce excessive foam, leave residues, increase rinsing demand, and sometimes reduce spray effectiveness. Stronger is not automatically cleaner.
A frequent problem is assuming that the dosing pump guarantees the correct concentration. Pumps can lose prime, suction lines can admit air, filters can clog, chemical containers can run low, and calibration can drift. Verify the actual concentration using the site’s approved test method rather than judging by smell, foam level, or the pump setting alone. Record the result with the operating temperature and tank condition, because these values are easier to interpret together than separately.
Old wash solution also loses effectiveness. It can become loaded with dissolved soil, label fragments, oils, glass debris, and suspended solids. Even with adequate detergent dosage, heavily contaminated solution may redeposit material onto bottles or block strainers and spray components. Tank dumping, replenishment, filtration, and skimming should follow the operating condition of the solution, not merely a habit of waiting until cleaning visibly fails.
Blocked or worn spray components create uneven cleaning
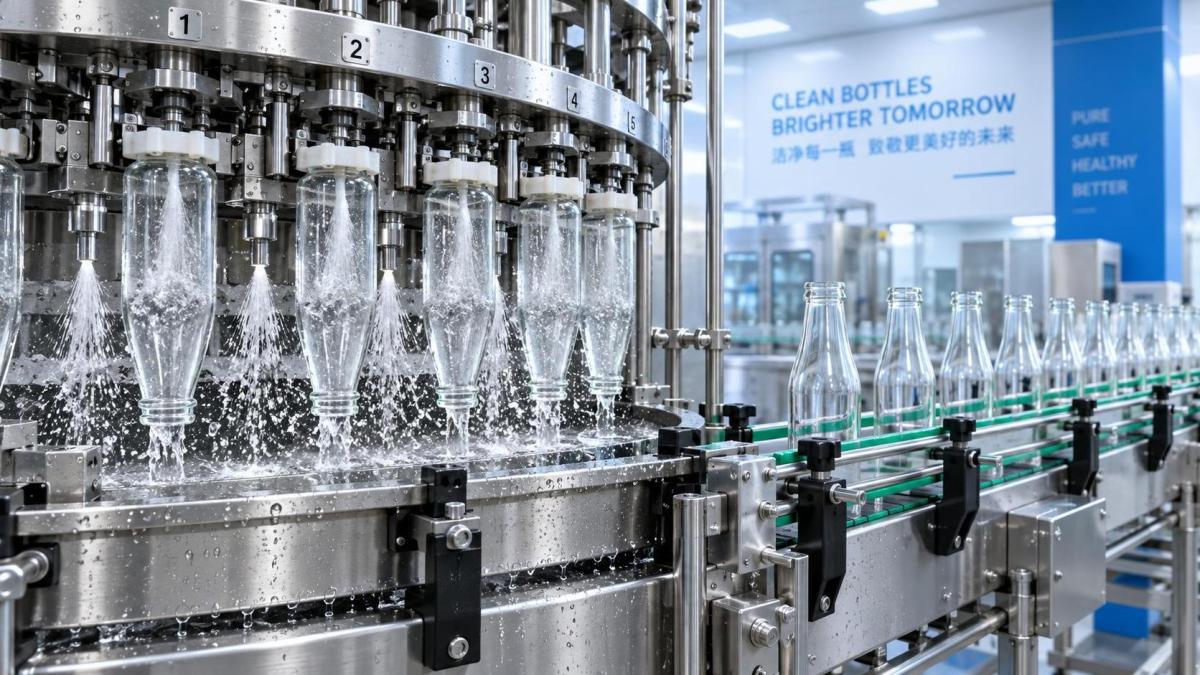
Internal washing depends on each bottle receiving a properly directed flow with enough pressure and volume. A partially blocked nozzle may still spray, but its pattern can be distorted enough to miss the shoulder, bottom, or sidewall. This is why a quick visual confirmation that “water is coming out” is not always sufficient.
Remove and inspect nozzles, spray balls, jets, screens, and strainers according to the machine’s maintenance procedure. Look for mineral scale, label fibers, adhesive particles, corrosion products, fragments of damaged bottles, and chemical deposits. Clean components using a method compatible with their material and the washer’s approved sanitation practices. Avoid enlarging nozzle openings with improper tools; altered openings can reduce pressure at other heads and change the designed spray pattern.
Also check whether all valves open fully and whether the circulation pump is delivering stable pressure. Pressure fluctuations may come from a restricted suction strainer, low tank level, air entrainment, a worn pump component, or a bypass condition. If the washer has multiple zones, compare their behavior. A weak final rinse may create spotting even when the main wash zone is performing well, while a weak main wash zone normally leaves actual soil behind.
Do not overlook the effect of water quality
Hard water can produce scale on heating surfaces, nozzles, pipes, and bottle surfaces. As scale builds, it narrows flow paths and reduces heat transfer, creating two problems at once: poorer spray performance and less reliable temperature control. High dissolved solids in the final rinse can leave spotting or a hazy appearance after drying. In that situation, operators may wrongly assume the main washing stage has failed.
Review the quality of water entering both the wash and rinse stages, especially after changes to the local supply, regeneration issues in treatment equipment, or maintenance work on utility lines. Water treatment is not a substitute for correct washer operation, but neglecting it can make a correctly adjusted machine appear ineffective.
Bottle orientation and fit determine whether cleaning reaches the interior
A bottle cannot be cleaned properly if it does not engage with the intended washing station. Misaligned guides, worn star wheels, damaged carriers, loose clamps, or incorrect spacing can leave bottles tilted, raised, or partially seated. The result may be an intermittent pattern: some bottles are clean, while others retain soil in the same location.
Watch the bottle transfer slowly and safely from the infeed through inversion or engagement with the wash heads. Look for bottles that hesitate, rotate unexpectedly, strike a guide, or fail to center over a nozzle. Bottle variation matters as well. A washer set up for one bottle height, neck finish, or diameter may not clean another format effectively without adjustment. Mixing bottle types in the same run can create inconsistent results even when no mechanical component has failed.
For operations requiring inverted internal rinsing, drainage is just as important as filling. Water and loosened debris need a clear path out of the bottle. A bottle that remains partly upright, does not invert fully, or is held at an unsuitable angle can trap wash liquid and released contaminants. Equipment designed around controlled inversion, such as the QSP-18 Fully Automatic 18-Head Inverting Bottle Washer, still depends on correct bottle guidance, head engagement, and compatible bottle dimensions to achieve consistent internal coverage.
Mechanical cleaning parts may be present but no longer effective
Where brushes are used, they need the right stiffness, length, contact pressure, and rotational condition. Worn brushes may polish the same area without reaching recessed surfaces. Overly aggressive brushes can scratch some bottle materials, creating surfaces that hold soil more easily in later cycles. Bent shafts, loose brush mounts, and incorrect rotation can produce patchy cleaning that resembles a chemical problem.
Inspect brushes for uneven wear, missing sections, embedded debris, and loss of shape. Check that they contact the intended area only when a bottle is correctly positioned. Replace worn parts before operators begin compensating with higher temperature, stronger detergent, or slower line speed. Those adjustments may mask the root cause while increasing operating burden.
External bottle cleaning can also fail when label debris accumulates around brushes or drain openings. Once loosened material is allowed to recirculate, it may collect in corners, on guides, or around spray areas, then transfer back onto bottles. Housekeeping inside the washer is part of cleaning performance, not a separate cosmetic task.
Cycle time and line speed must match the real soil load
A washer may deliver acceptable results with lightly soiled bottles but fail when bottles arrive with dried product, dust, old labels, or residues from storage. Increasing production speed shortens the effective exposure time in each zone. If temperature, chemical strength, spray pressure, and mechanical action stay unchanged, the process may no longer have enough time to loosen and remove soil.
Before slowing the entire line, confirm whether the problem began after a speed change, bottle-format change, longer storage period, or change in the source of returned bottles. A controlled comparison at the normal and reduced speed can reveal whether dwell time is the limiting factor. If reduced speed improves results immediately, investigate whether the machine settings and available wash stages are appropriate for the required throughput rather than treating the issue as an isolated nozzle fault.
Do not use prolonged washing as the only correction. Excessive exposure can increase water and chemical consumption, raise bottle temperature unnecessarily, and reduce output. The goal is adequate contact time combined with effective spray, chemistry, and drainage.
A practical sequence for troubleshooting without creating new variables
- Hold and inspect affected bottles. Identify whether the remaining material is soil, label residue, detergent film, mineral spotting, or trapped water. Inspect the location of the defect inside and outside the bottle.
- Compare several wash heads and bottle positions. Determine whether the failure is random, linked to a particular lane, or affecting the whole machine.
- Verify actual operating conditions. Measure wash temperature, confirm tank level, check circulation behavior, and test detergent concentration using the approved method.
- Inspect filters, strainers, and nozzles. Clean restrictions before changing chemical settings. Confirm that spray patterns and pressure are consistent after reassembly.
- Observe bottle handling. Check centering, inversion, dwell time, and drainage. Pay close attention to the bottle formats running when the problem occurs.
- Run a controlled recheck. After one corrective action, inspect bottles again under the same operating conditions. Document the change and outcome so the next shift does not repeat the same trial.
When poor cleaning is caused by the bottles rather than the washer
Not every cleaning failure starts inside the machine. Bottles with deep scratches, damaged interiors, heavy dried deposits, incompatible coatings, or unusual geometry can be difficult to clean using a standard cycle. Long periods of storage allow residues to dry and harden. Bottles returned with foreign objects, caps, paper, or excessive label adhesive can overload filters and tanks faster than expected.
Separate unusually contaminated or damaged bottles before they enter the washer where possible. This protects spray circuits and helps prevent a small number of problem containers from degrading the wash solution for an entire run. A pre-rinse or dedicated pre-treatment step may be necessary for heavy soil, but it should be chosen based on the actual contamination and bottle material rather than added routinely.
Repeated failures after checks of temperature, chemistry, flow, orientation, and bottle condition may indicate a mechanical issue in the pump, heating system, valves, controls, or carrier assembly. At that point, continued adjustment by trial and error can delay the repair and create inconsistent hygiene conditions. Isolate the affected section, review maintenance findings, and return the machine to service only after the cleaning result has been verified across the relevant wash heads and bottle positions.
Leave A Message
If you are interested in our products and want to know more details, please leave a message here, we will reply you as soon as we can.